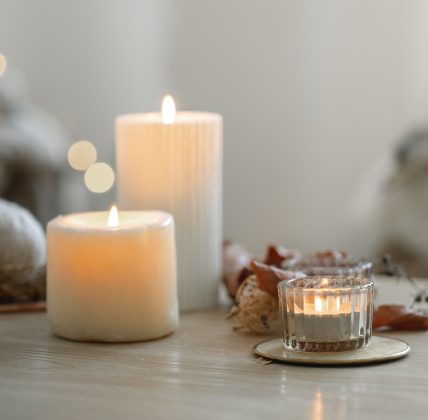
- There’s something magical about lighting a candle that you’ve made with your own hands. The soft glow, the gentle fragrance, and the satisfaction of crafting something beautiful all come together in one elegant creation. Molded scented candles are a perfect DIY project for beginners—easy to make, endlessly customizable, and ideal for gifts or home décor.
In this guide, we’ll walk you through the process of making molded scented candles from scratch, with tips and tricks to help you get started confidently.
Why Molded Candles?
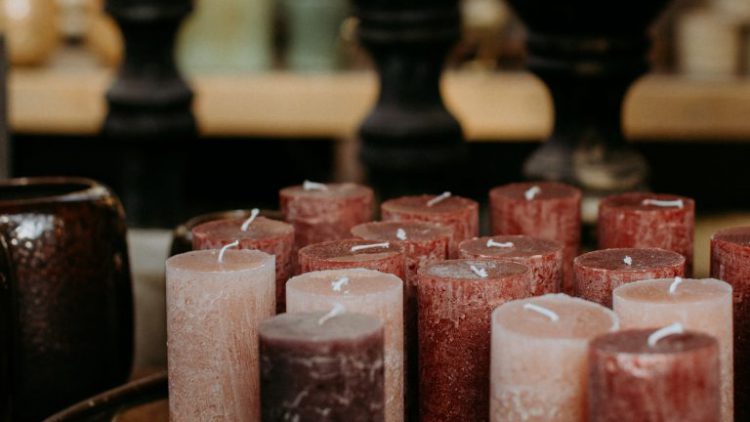
Unlike container candles, molded candles are free-standing and shaped using molds. They can be simple pillars or intricate designs like flowers, geometric forms, or seasonal motifs. Molded candles offer more creative freedom and make stunning visual statements.
When paired with your favorite fragrance oils, they become both functional and decorative—adding warmth, scent, and personality to any space.
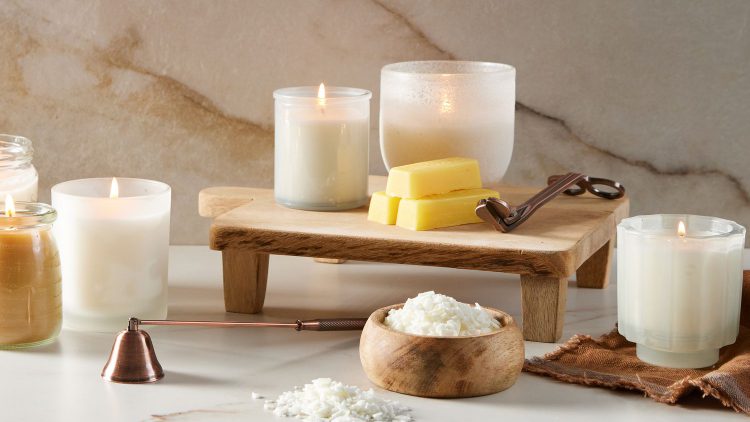
What You’ll Need
Before you begin, gather the following supplies:
Materials:
- Wax: Soy wax, beeswax, or paraffin (soy is great for beginners)
- Fragrance oil: Choose scents like lavender, vanilla, citrus, or seasonal blends
- Candle dye (optional): For adding color
- Wicks: Pre-tabbed wicks sized for your mold
- Molds: Silicone molds are easiest to use and come in many shapes
- Wick holders or centering tools
- Double boiler or wax melting pot
- Thermometer
- Pouring pitcher
- Stirring stick or spoon
- Glue dots or wick stickers
- Scissors
Safety Gear:
- Heat-resistant gloves
- Apron
- Newspaper or parchment paper to protect surfaces
Step-by-Step Instructions
Step 1: Prepare Your Workspace
Set up a clean, flat surface with plenty of room to work. Cover it with parchment paper or newspaper to catch spills. Make sure your molds are clean and dry. Attach the wick to the bottom of each mold using a glue dot or wick sticker, and use a wick holder to keep it centered.
Step 2: Melt the Wax
Using a double boiler, melt your wax slowly over medium heat. Stir occasionally to ensure even melting. Avoid direct heat, which can scorch the wax or cause it to overheat.
Use a thermometer to monitor the temperature. For soy wax, aim for around 170–180°F (77–82°C). Beeswax melts at a higher temperature, around 145–160°F (63–71°C).
Step 3: Add Fragrance and Color
Once the wax is fully melted, remove it from heat and let it cool slightly—ideally to about 160°F (71°C) for soy wax. Add your fragrance oil according to the recommended ratio (usually 6–10% of the wax weight). Stir gently but thoroughly.
If you’re using candle dye, add it now. Liquid dyes blend easily, while chips or blocks may require extra stirring. Test the color by dripping a bit onto parchment paper—it will harden quickly and show the final shade.
Step 4: Pour the Wax into Molds
Carefully pour the scented, colored wax into your prepared molds. Pour slowly to avoid air bubbles. Fill each mold to the top, leaving a small gap if needed for topping off later.
Tap the mold gently to release trapped air and ensure an even fill. Keep the wick centered and upright.
Step 5: Cool and Set
Allow the candles to cool and harden completely. This can take several hours depending on the size and type of wax. Avoid moving or disturbing the molds during this time.
If the wax sinks slightly around the wick as it cools, you can reheat a small amount of wax and top it off once the candle is firm.
Step 6: Unmold and Trim
Once fully hardened, gently remove the candles from their molds. Silicone molds usually release easily—just peel them back slowly. Trim the wick to about ¼ inch (6 mm).
Inspect your candles for imperfections. Minor surface flaws can be smoothed with a warm spoon or by gently buffing with a soft cloth.
Tips for Success
- Use high-quality fragrance oils designed for candle making to ensure proper scent throw.
- Avoid adding too much dye or fragrance, which can affect burn quality.
- Test burn one candle before making a large batch to check wick size and scent strength.
- Store candles in a cool, dry place away from direct sunlight to preserve scent and color.
Creative Ideas
Once you’ve mastered the basics, try these fun variations:
- Layered candles: Pour wax in stages with different colors or scents.
- Botanical candles: Embed dried flowers or herbs in the mold before pouring.
- Holiday themes: Use seasonal molds and scents like cinnamon, pine, or peppermint.
- Minimalist designs: Stick to neutral tones and clean shapes for a modern look.
Safety Reminders
Always follow safety guidelines when working with hot wax:
- Never leave melting wax unattended.
- Keep flammable items away from your workspace.
- Use heat-resistant containers and tools.
- Burn candles on stable, heat-safe surfaces.
- Never burn candles near curtains, pets, or children.
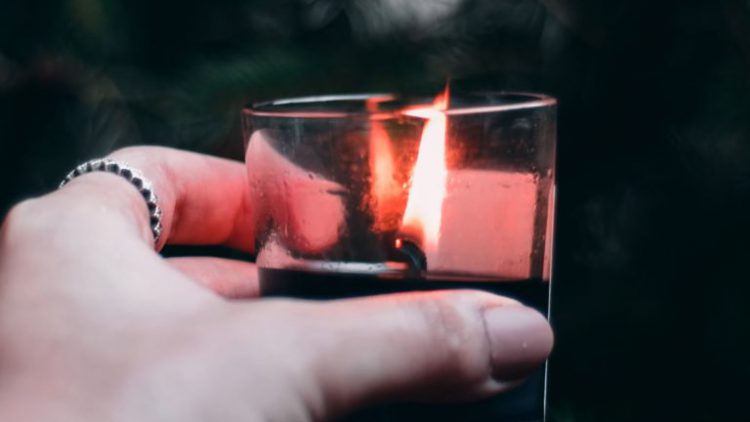
Final Thoughts: Crafting with Heart
Making molded scented candles is more than a DIY project—it’s a creative ritual that brings joy, relaxation, and beauty into your life. Whether you’re crafting for yourself, gifting loved ones, or starting a small business, each candle you make carries your personal touch.
So light your creation, breathe in the fragrance, and enjoy the glow of something made by hand—with care, intention, and a little bit of magic.